This guide explains how to use the various options on the ‘Parameter management’ page in Geotraces.
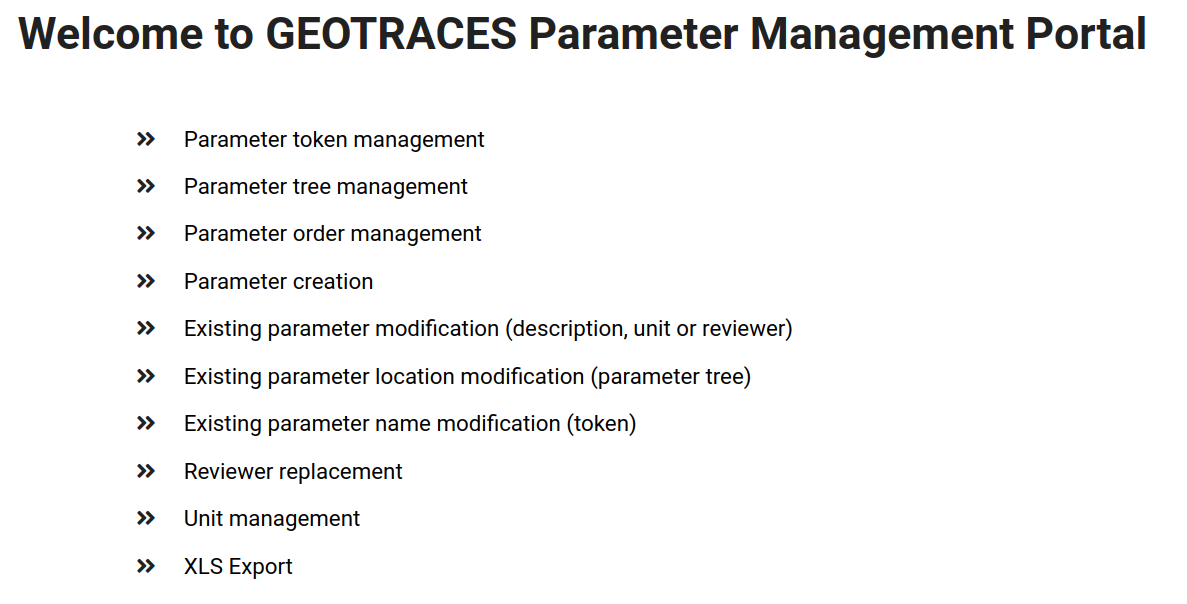
1- Parameter Token Management
Starting with the Parameter Token Management, this page allows you to delete or create a new token for future parameters to be used. The page includes several token categories, such as ‘Domain’, ‘Atomic mass’ and ‘Data type’.
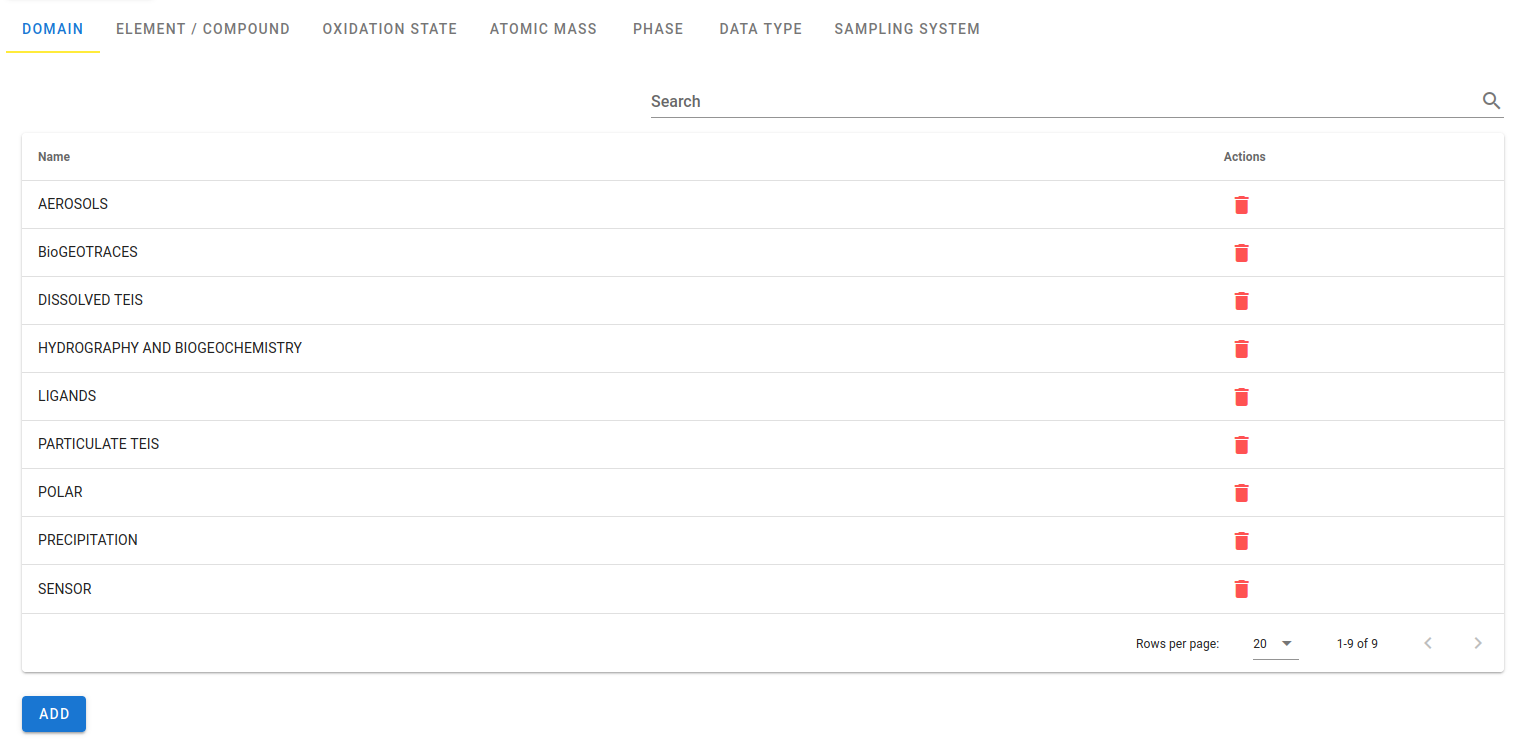
The ‘Add’ button will create a new item in the list you see (so if you’re in the list of domains, you’ll create a new domain).
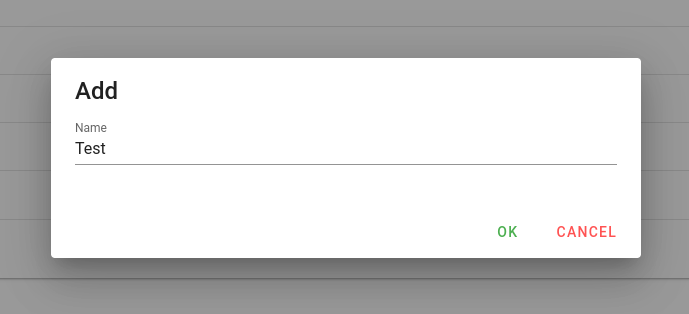
Click on the ‘Add’ button and a small window will appear. Once you have entered the name of the new token, confirm by clicking ‘ok’.
2- Parameter Tree Management
Then there is parameter tree management. The main list is made up of parameter domains (see Parameter token management).
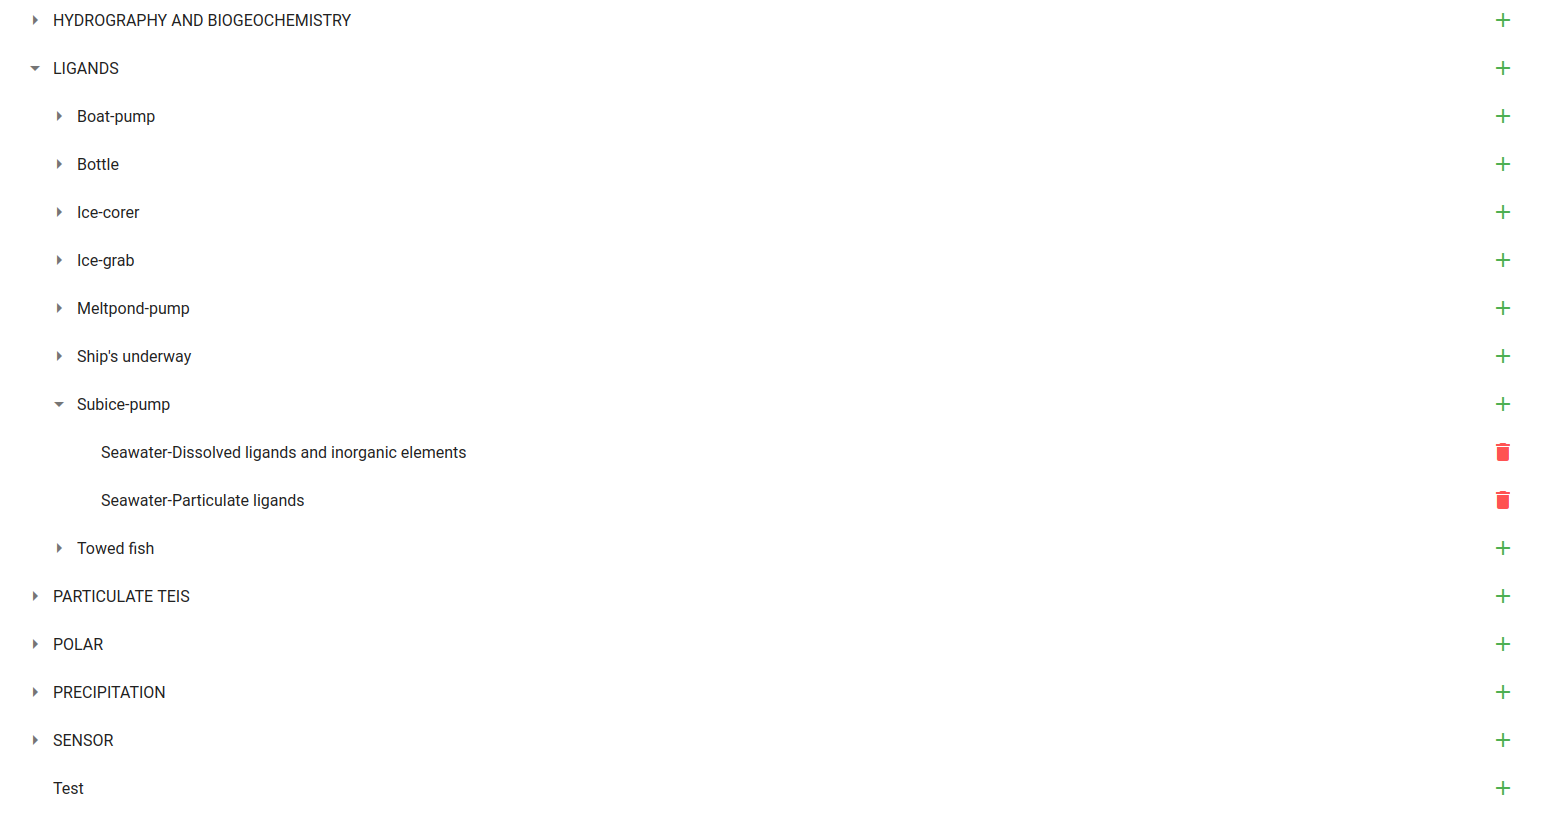
You can add groups and sub-groups to these domains. After clicking on the green ‘+’, a small window appears. Add the name of the group (or sub-group) and confirm.
3- Parameter order management
This option lets you change the order of parameters in a subgroup of the parameter tree.
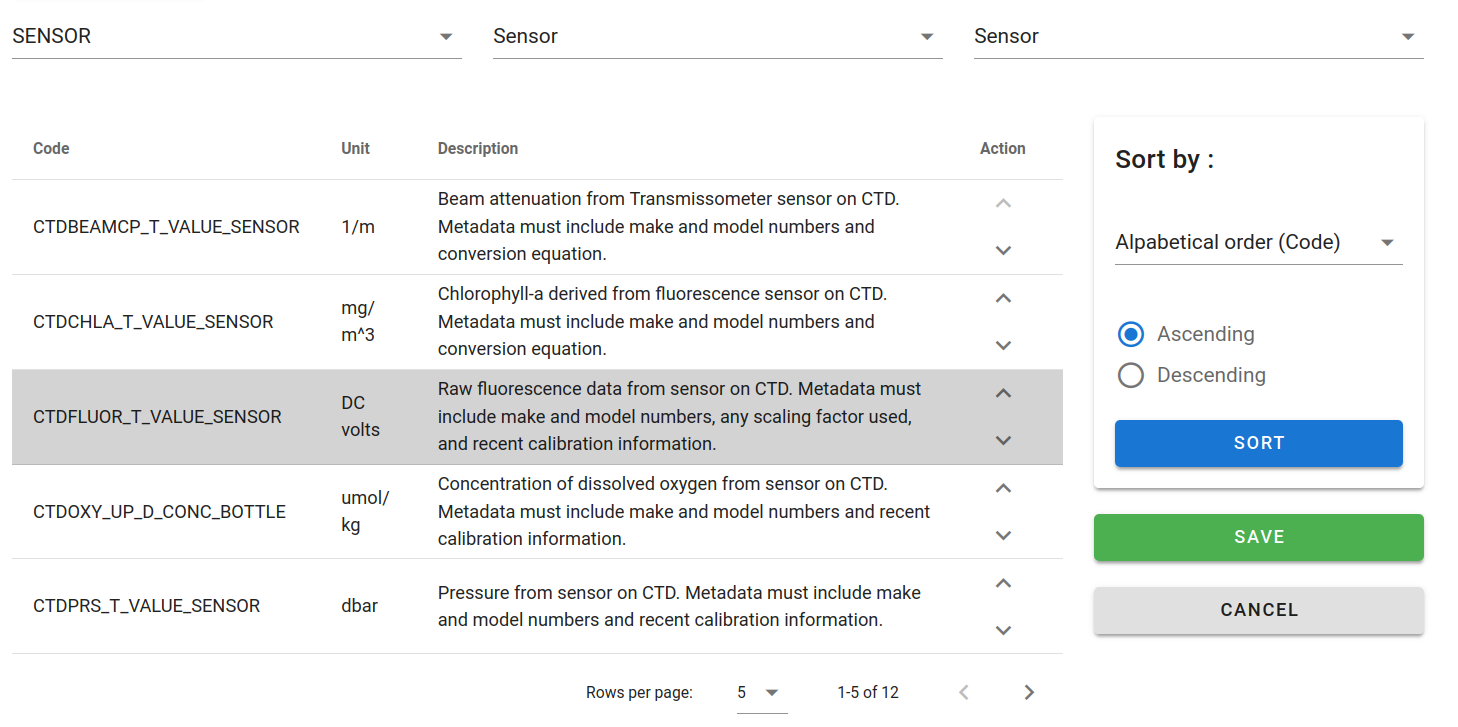
First select the subgroup at the top of the page. Once you’ve found the subgroup, you can either move a parameter using the arrow in the “action” column, or sort all parameters by code or description.
4- Parameter Creation
There are three steps to creating a parameter:
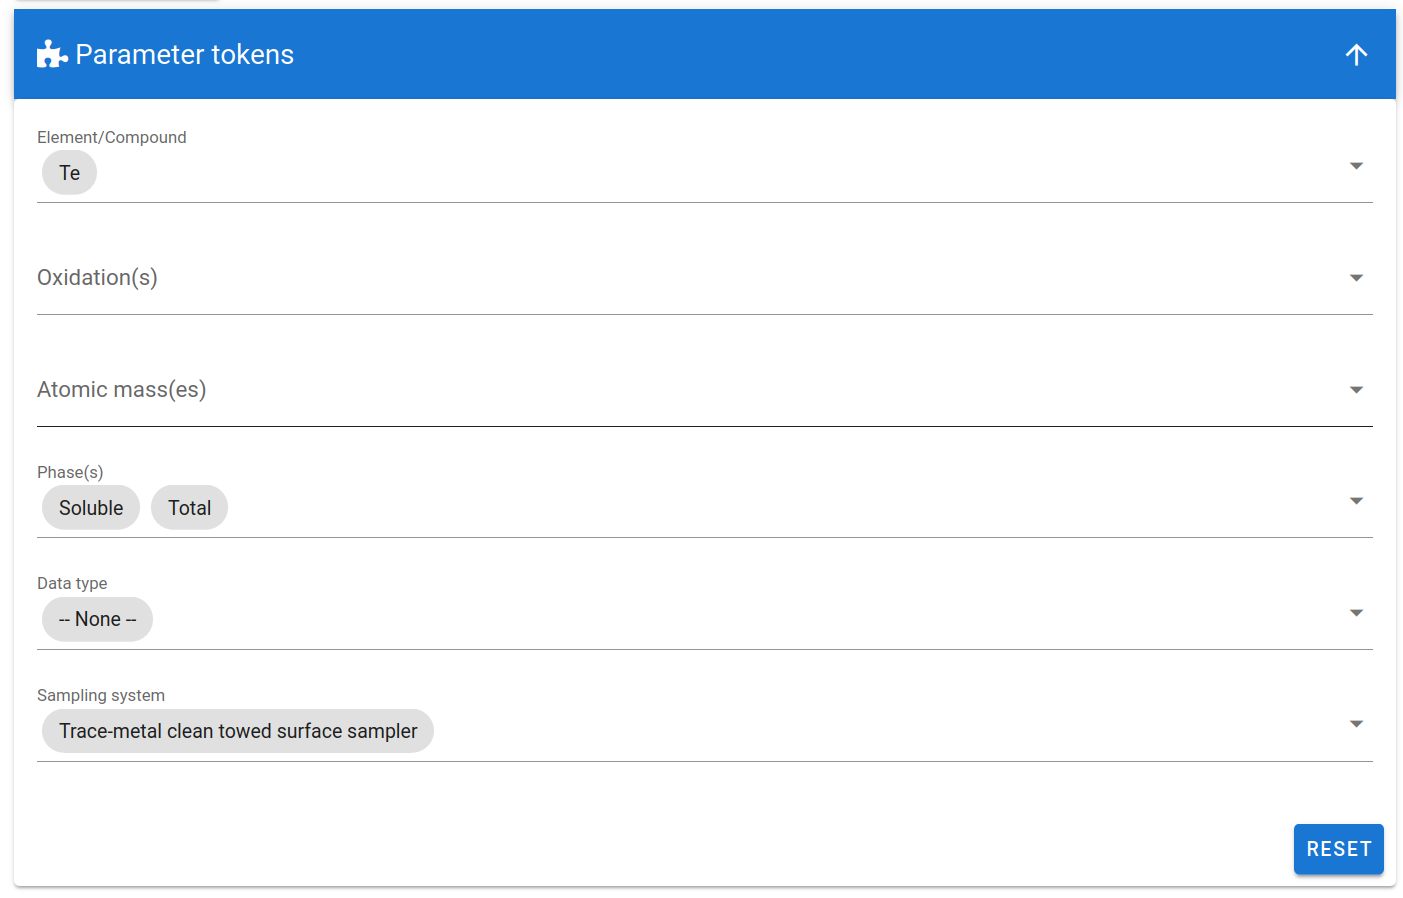
1/ Parameters token
First, you’ll need to fill in the parameter tokens. Some entries may be empty, while others may have several values.
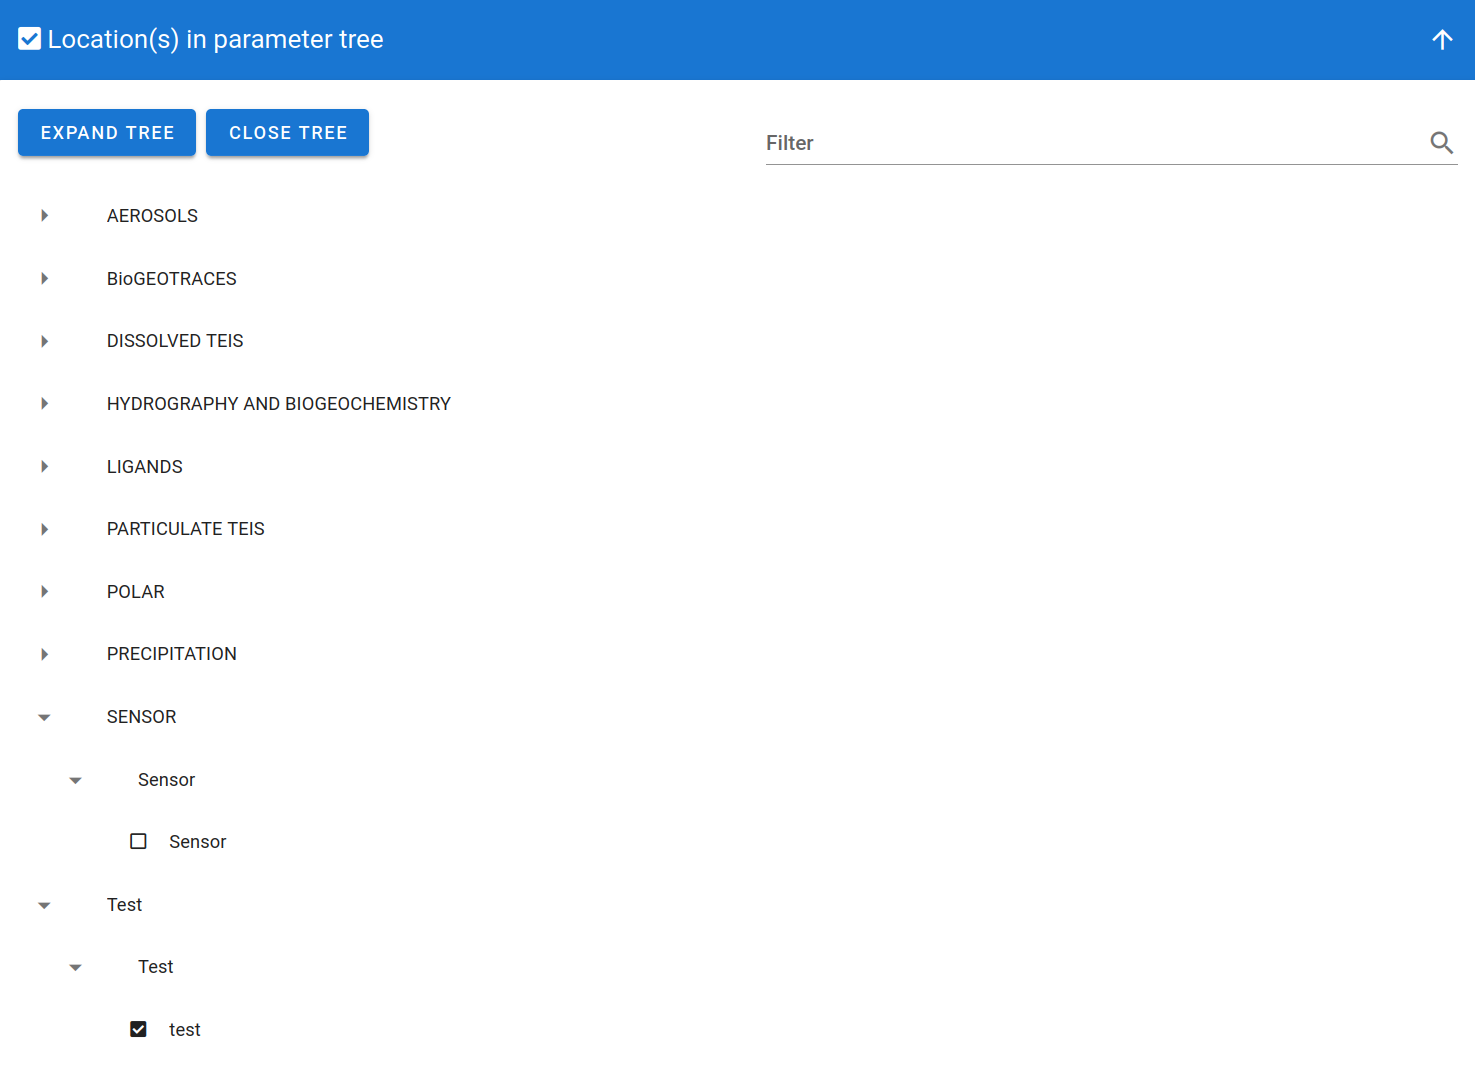
2/ Location in the parameter tree
Next, you’ll need to choose the location of the parameter in the parameter tree, by checking a box next to a sub-group. You can choose one or more locations.
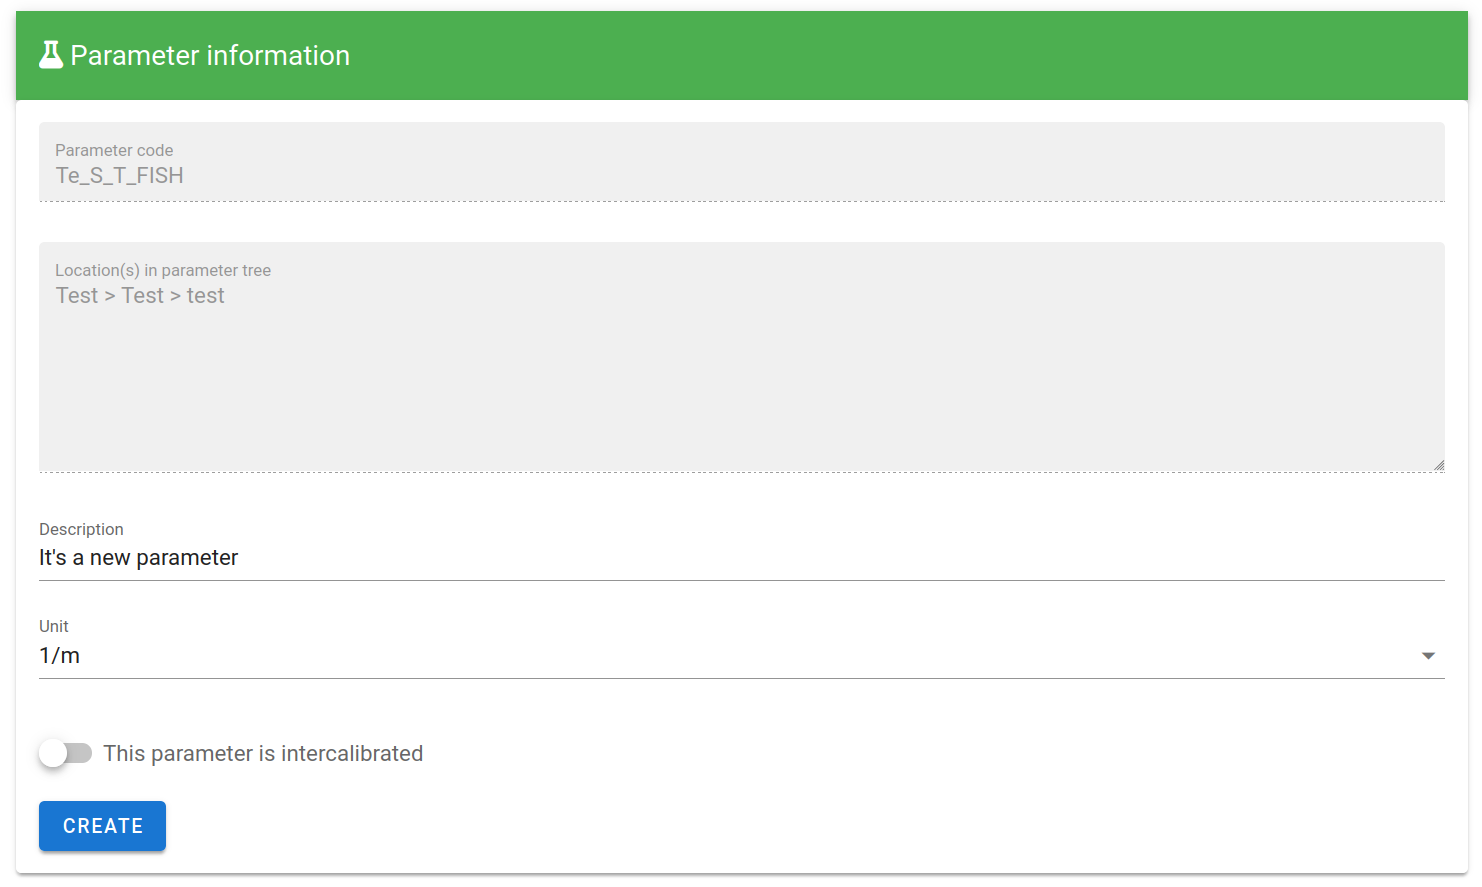
3/ Parameter information
Finally, enter the parameter description and unit. You can then create the new parameter.
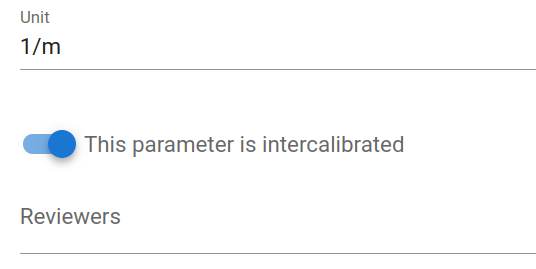
If a parameter is intercalibrated, you will need to add one or more evaluators to the parameter.
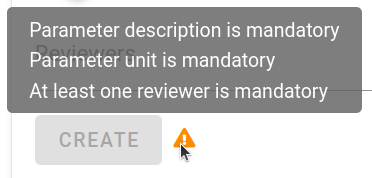
If any mandatory information is missing from any of the three steps, you will not be able to create the parameter. Move your mouse over the warning icon to see what you forgot to add.
5- Existing parameter modification (description, unit or reviewer)
It is possible to update a parameter after it has been created. You must first find the parameter in the parameter search tool. You can then modify some of its values, such as its description, unit or whether the parameter is intercalibrated.
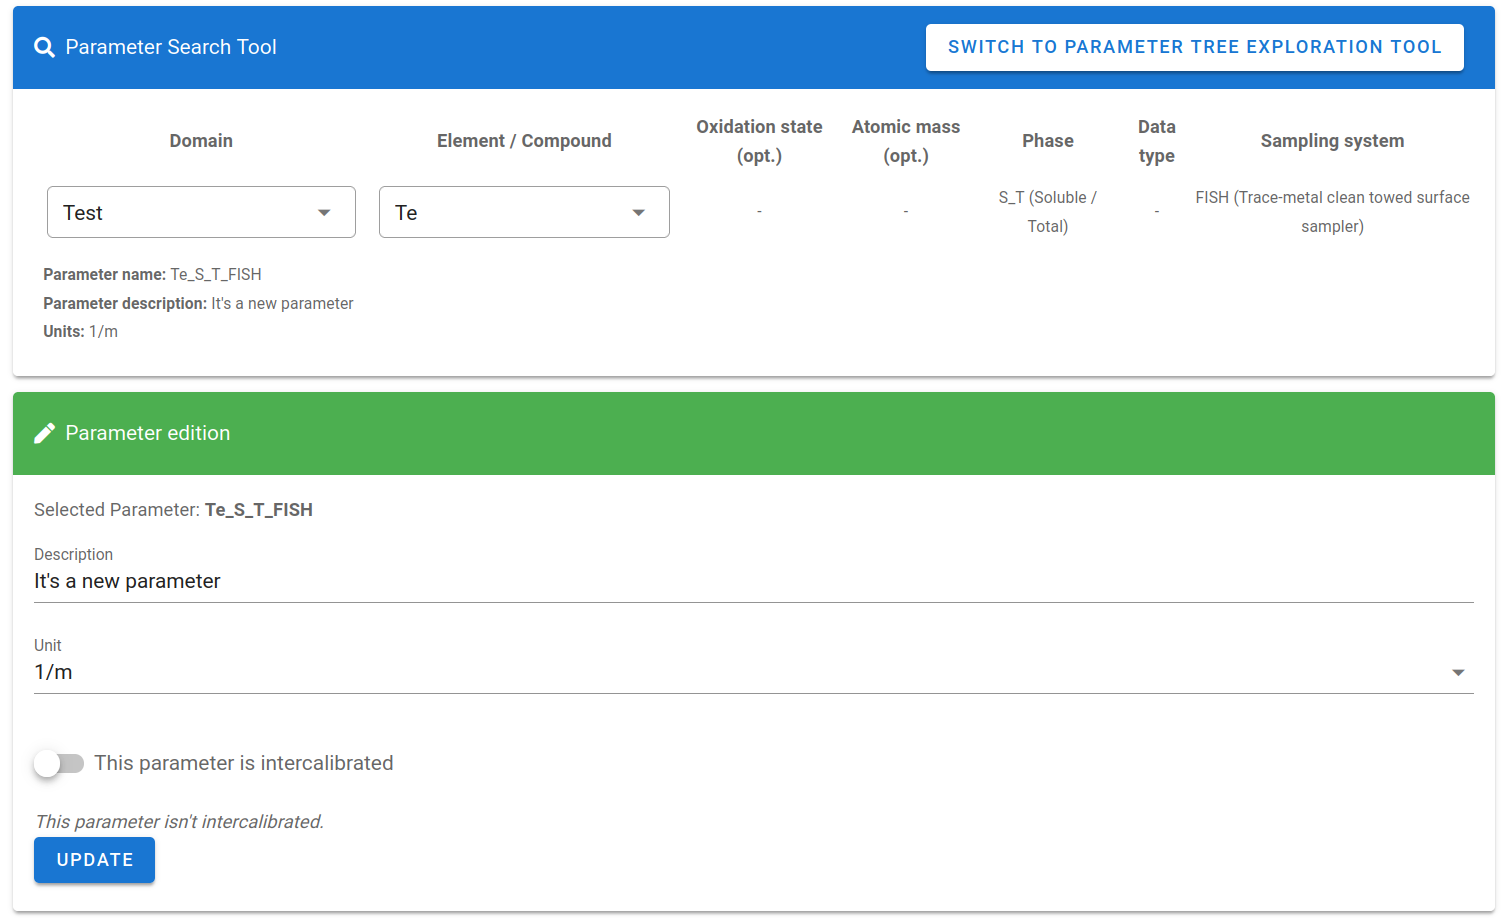
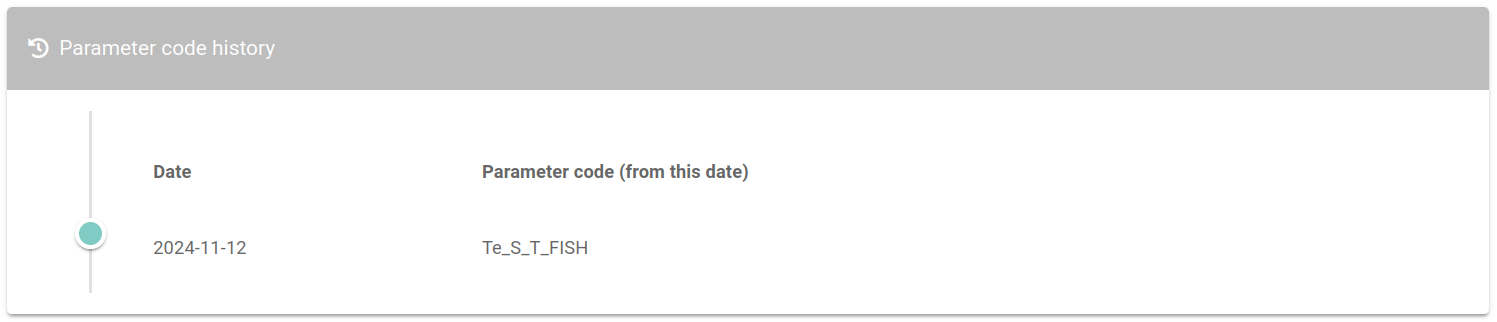
You can also view the history of the parameter name below the editing section.
6- Existing parameter location modification (parameter tree)
Whereas parameter order management allows you to change the position of a parameter in a subgroup, this option allows you to add or remove a parameter from a subgroup.
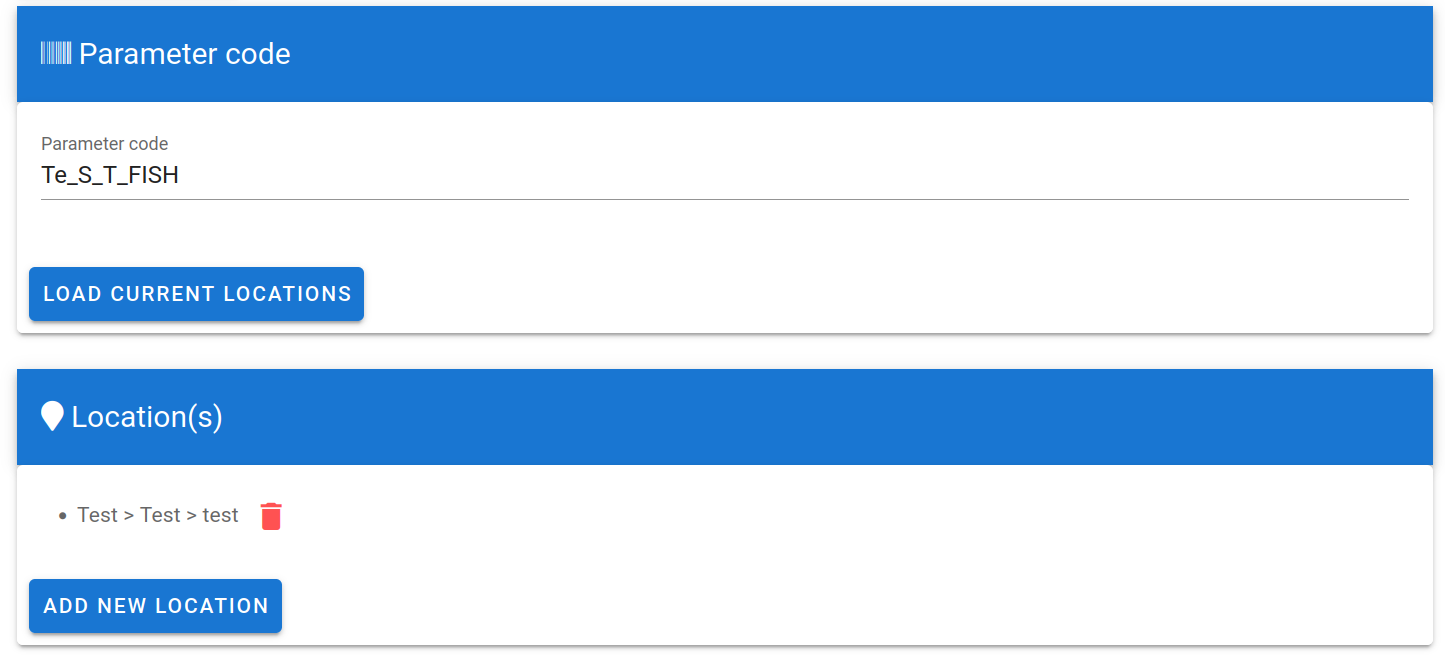
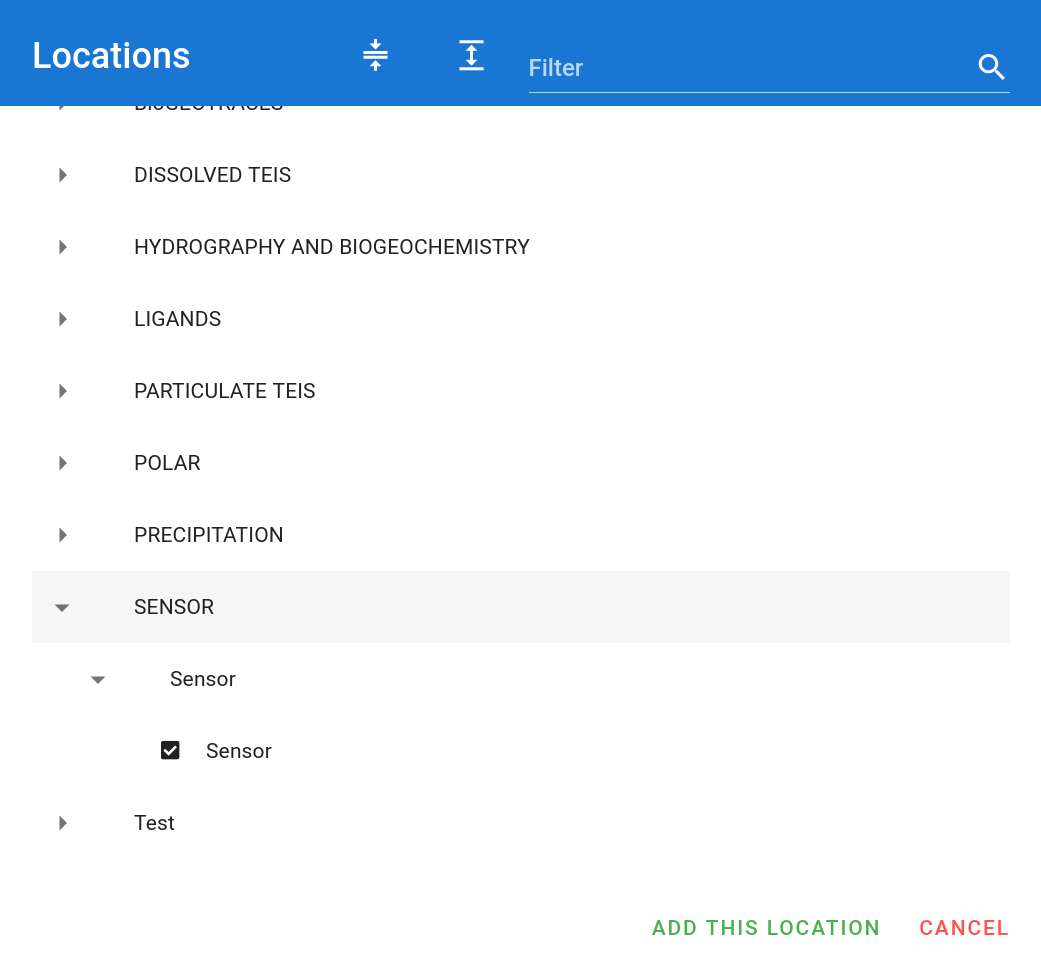
Clicking on “Add new location” opens a new window, displaying the parameter tree. As in step 2 of Parameter creation, you’ll need to tick a box next to the subgroup.
7- Existing parameter name modification (token)
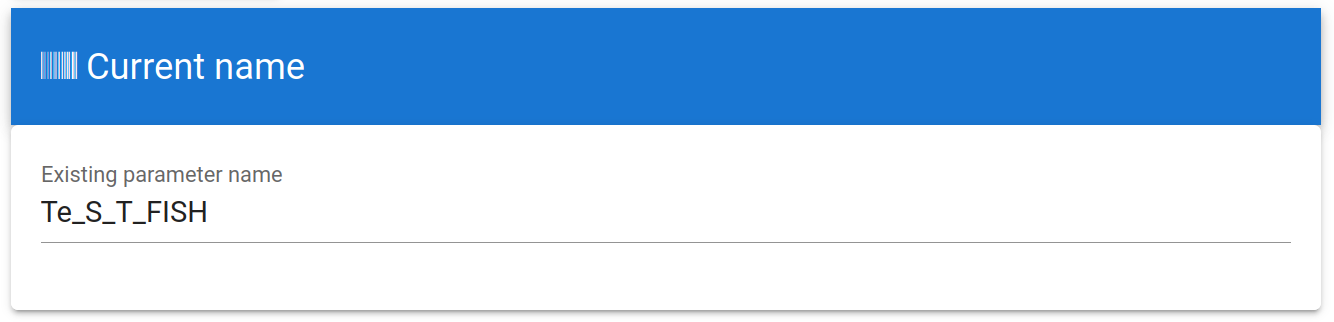
First of all, you will need to enter the parameter name (code) in the « Current name » section
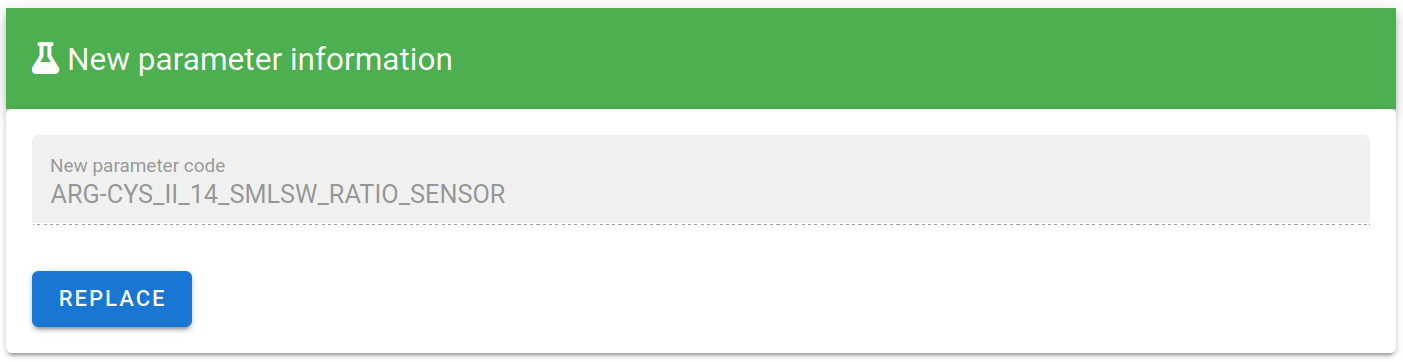
Then, as in step 1 of parameter creation, you’ll need to enter the new tokens for the parameter.
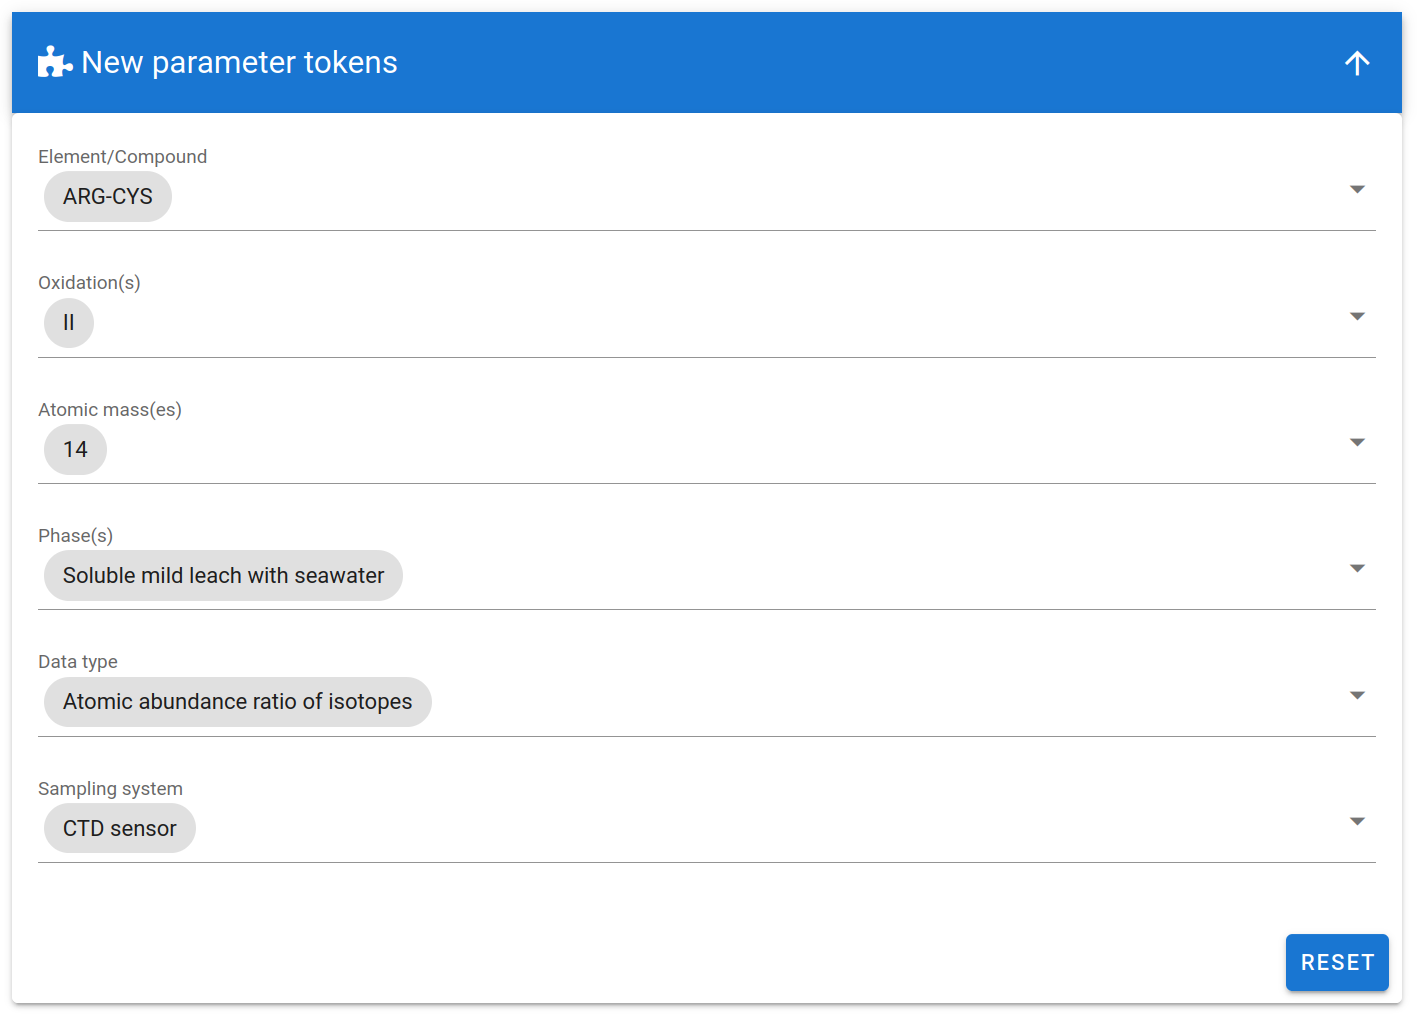
Once this is done, confirm the new parameter code and accept.
8- Reviewer replacement
This option allows you to replace a reviewer in all the parameters where it is located.
For example, in the image below, each parameter where Elena Masferrer Dodas is a reviewer will replace Elena Masferrer Dodas with Elena Colombo.
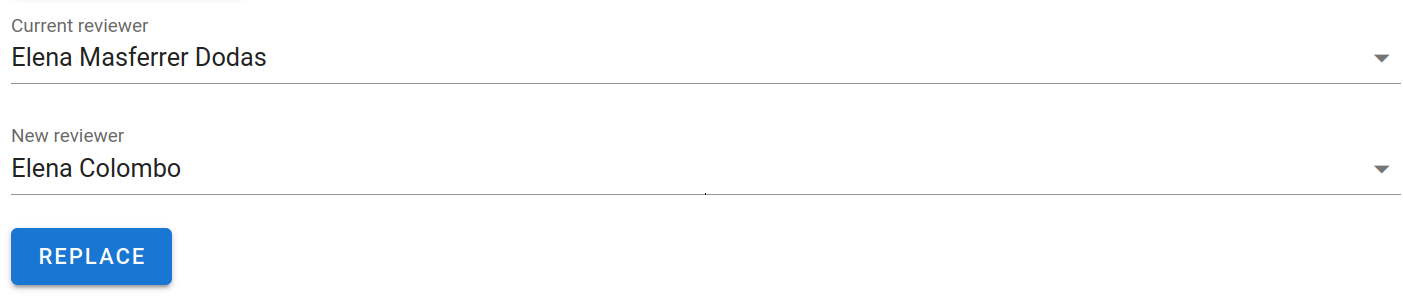
Bear in ming that the reviewer’s update will also update any intercalibration reports that the reviewer is currently reviewing, unless the report has already been reviewed.
9- Unit management
It is also possible to add or delete a unit.
To delete a unit, it must not be part of a dataset. In this case, the “delete” button will not be disabled. (For example, in the image below, the “test” unit can be deleted).
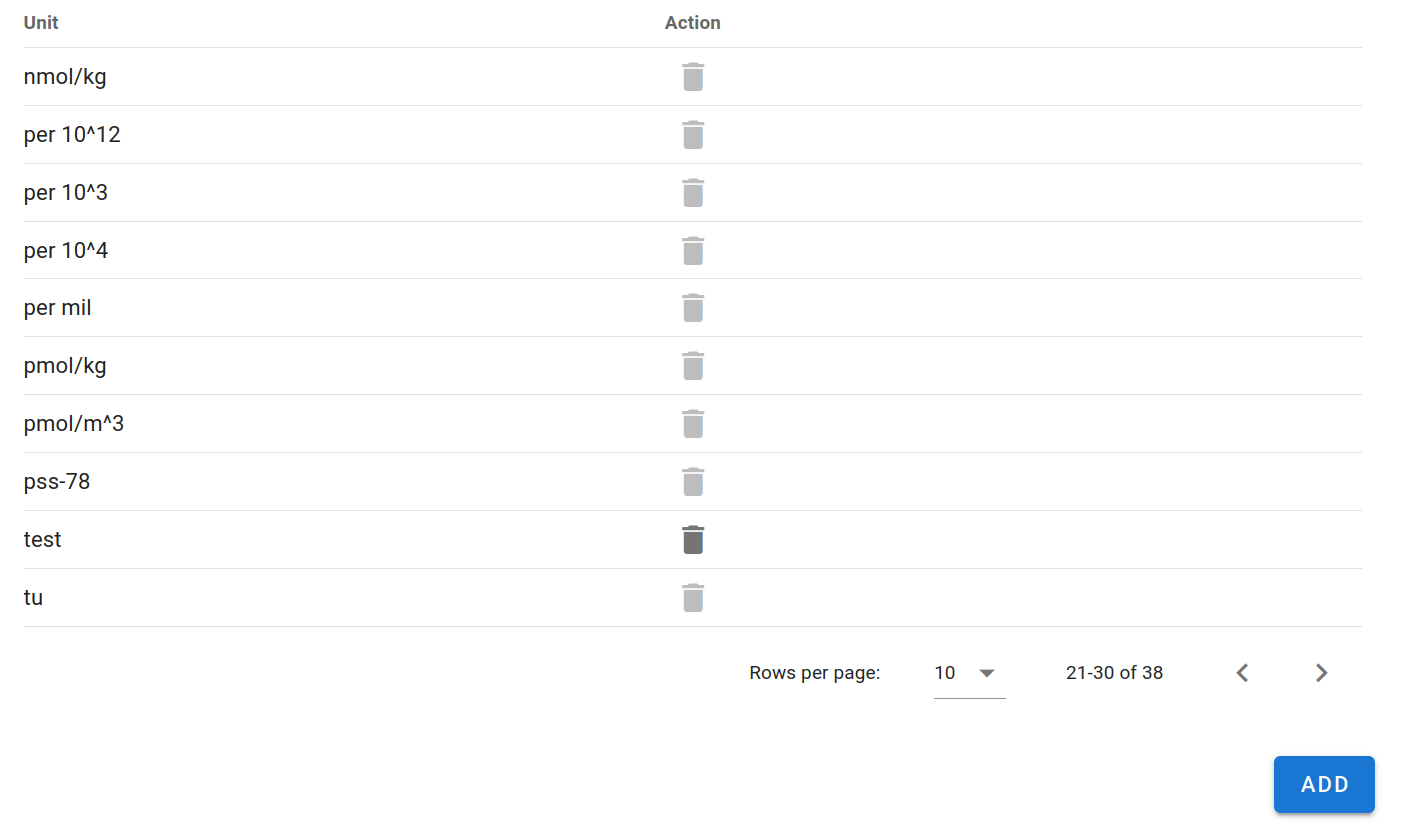
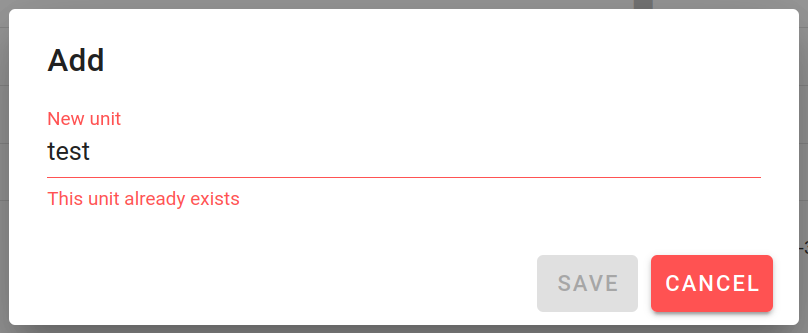
Clicking on the “Add” button will open a small window in which you can register a new unit. However, if the unit already exists, the “Save” button will be disabled.
10- XLS Export
Finally, this option downloads to your computer an Excel file containing all the domains, groups, subgroups and parameters (code, unit, description and evaluators). Each sheet in the file represents a domain.

11- API
If you’d like to use the API instead, here are the URLs for the test API swagger and the main API swagger. The Test API lets you try out the requests and prepare yourself before using the Main API.
In addition, you may need to authenticate yourself if you wish to send certain requests. By clicking on the padlock icon on the side of an endpoint, an ‘Available authorisations’ window will be displayed.
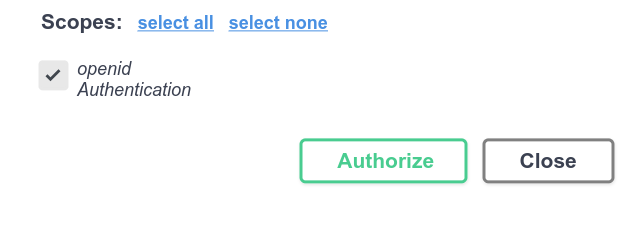
You will need to tick the ‘open id authentication’ box in the Scopes section, then ‘authorize’. You will be redirected to ORCID, where you will need to log in.